How to install BoltShield® caps: 3 easy steps
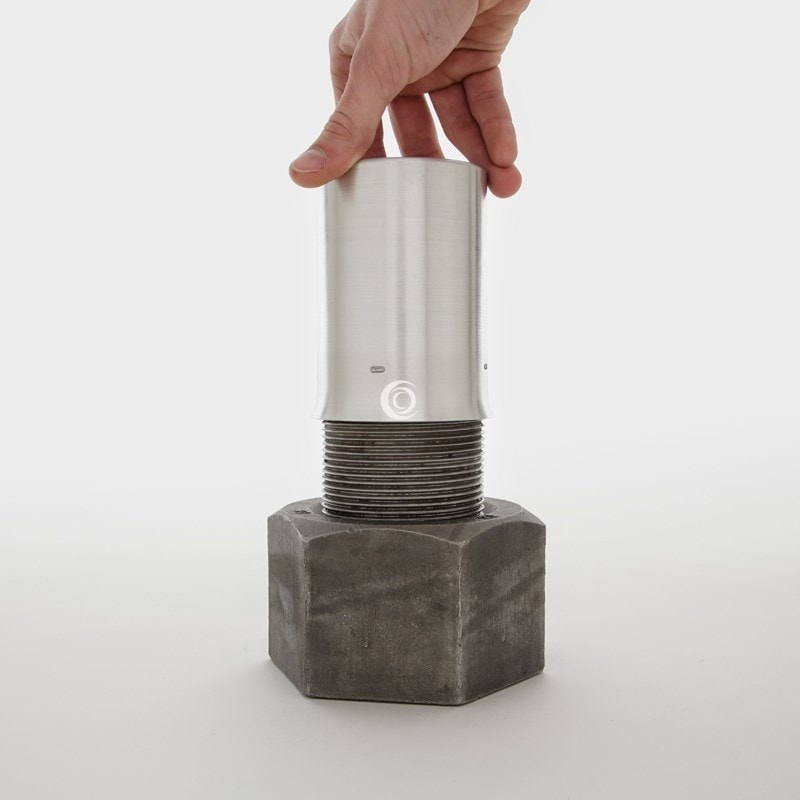
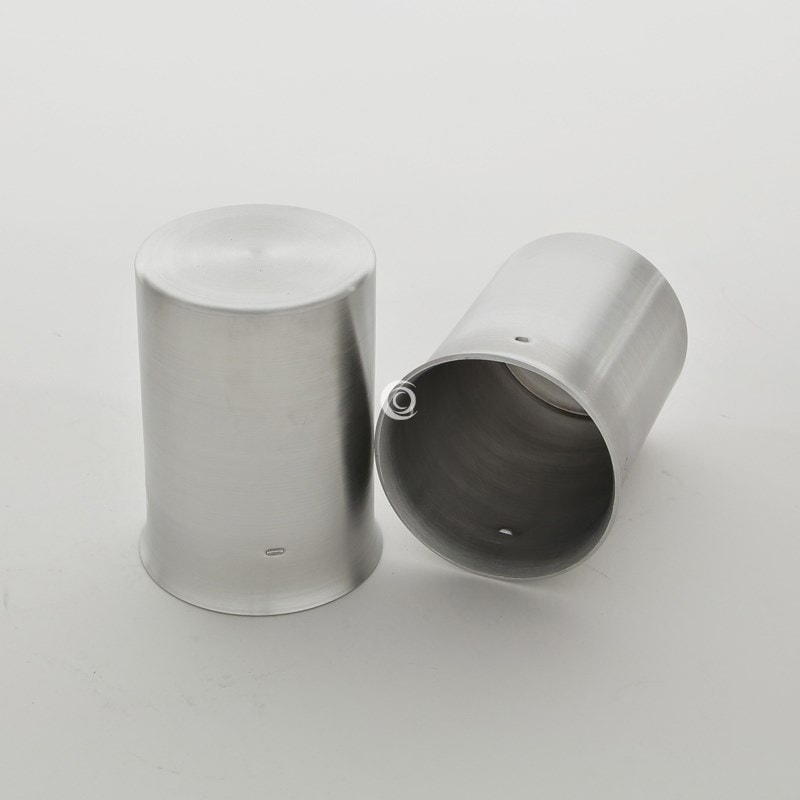
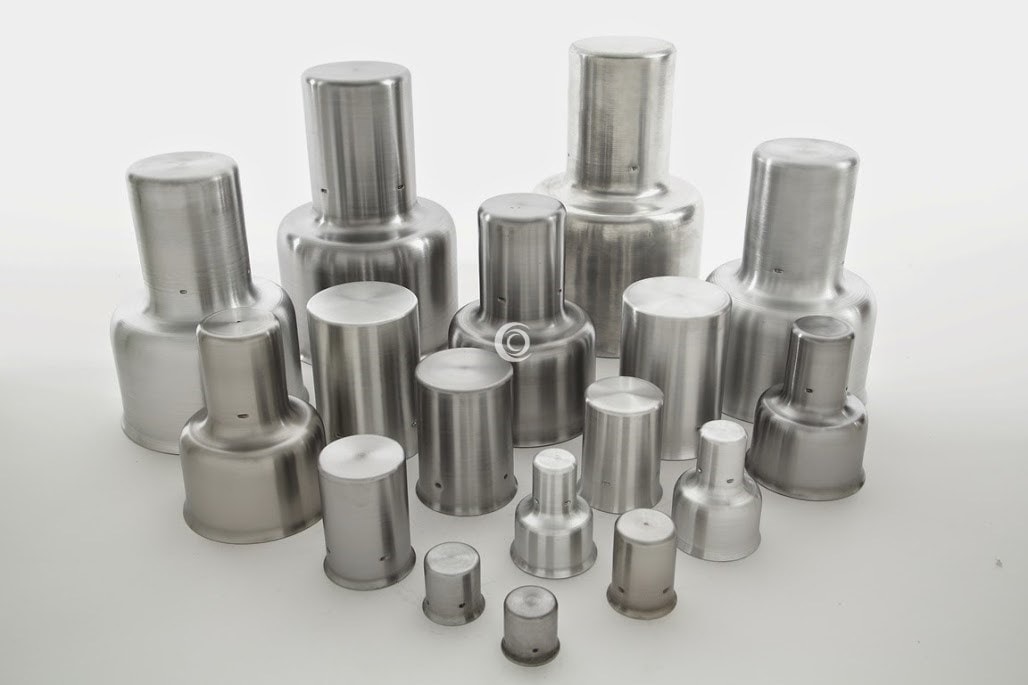
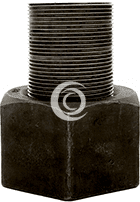
BoltShield® are designed to be installed manually. With a special internal female thread, named Screw-On System, every type of BoltShield® ensures a strong and secure fixing to the bolt. No extra tools are required, and the caps can be easily installed and removed when needed.
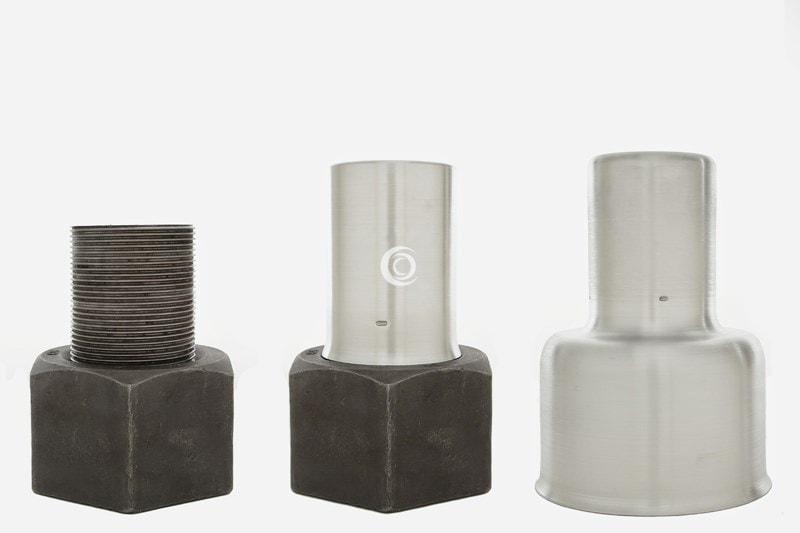
 STEP #1
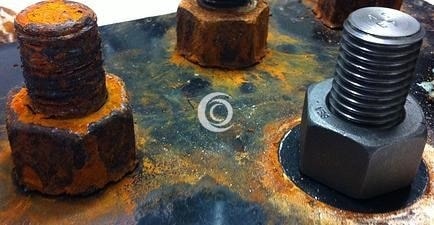
Clean the bolt thread from dirt very carefully and apply grease.
 STEP #2
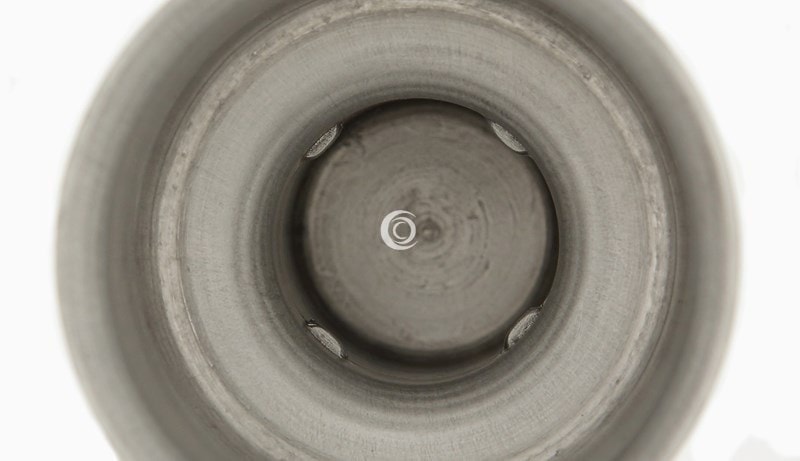
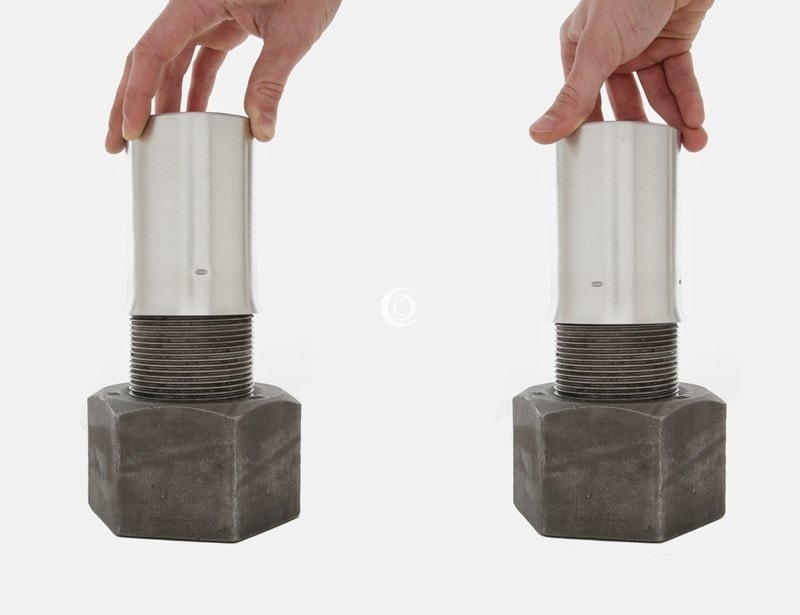
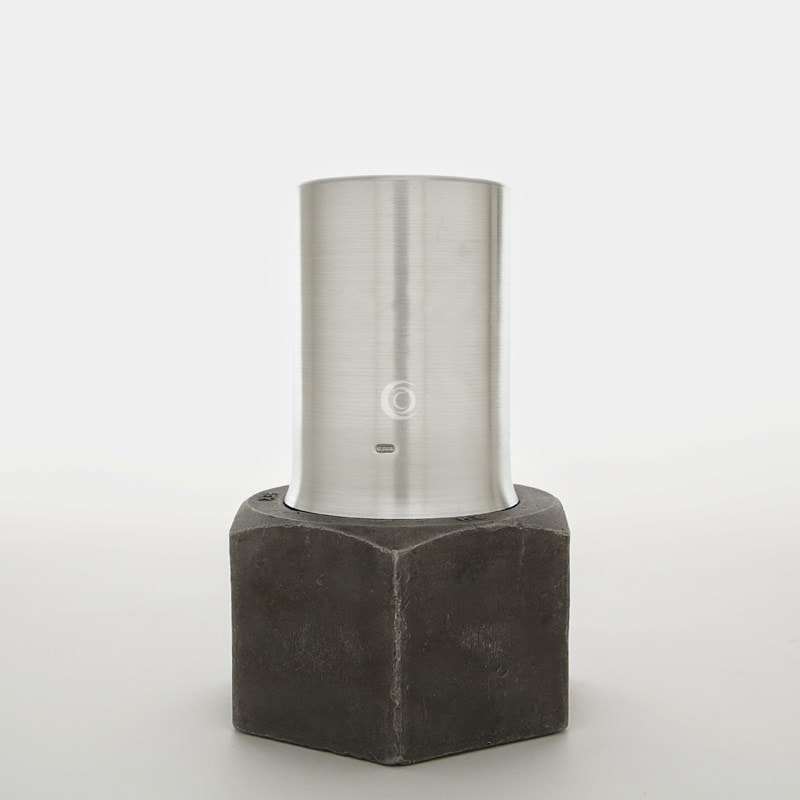
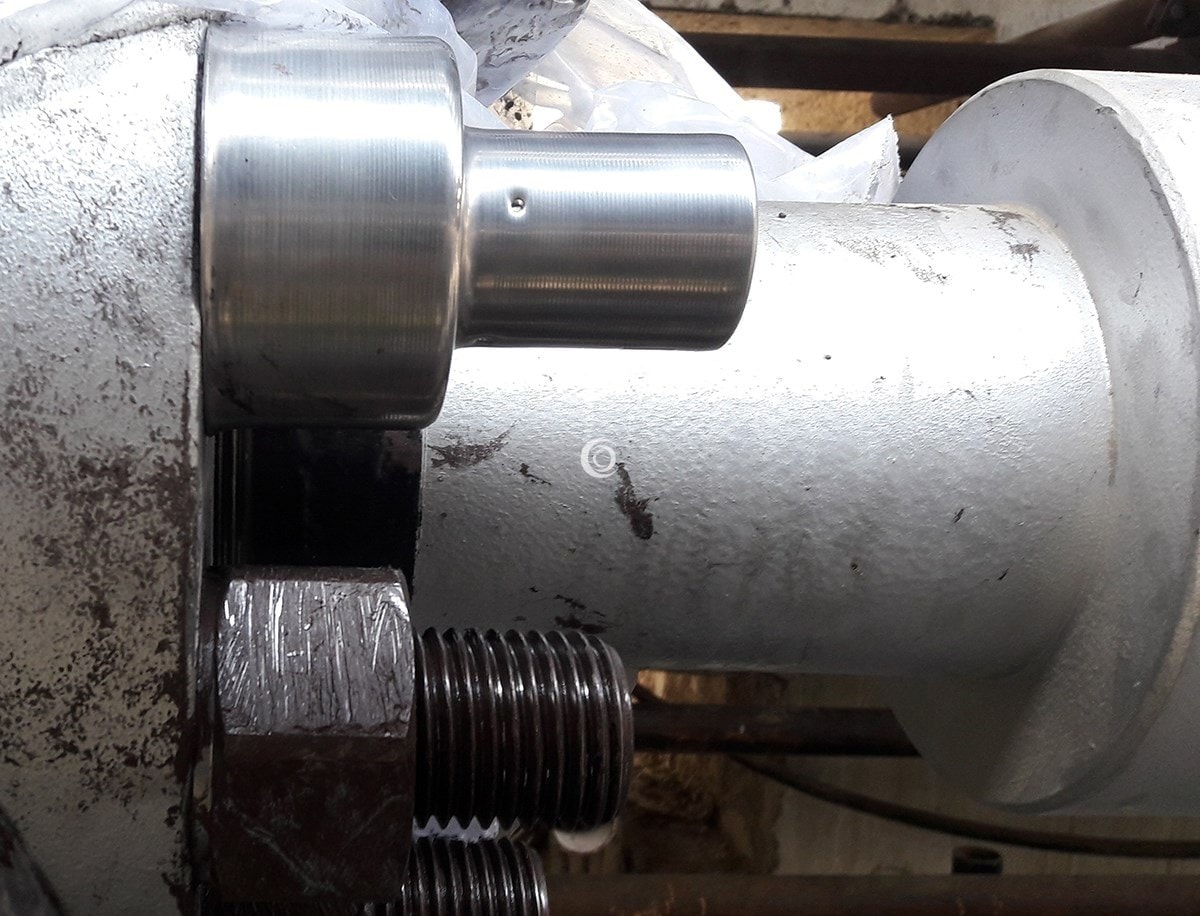
Place the BoltShield® cap onto the bolt being sure that the pressure marks of the Screw-on System perfectly lean against the bolt threads to match them.
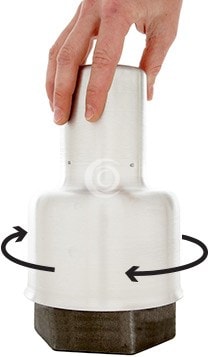
 STEP #3
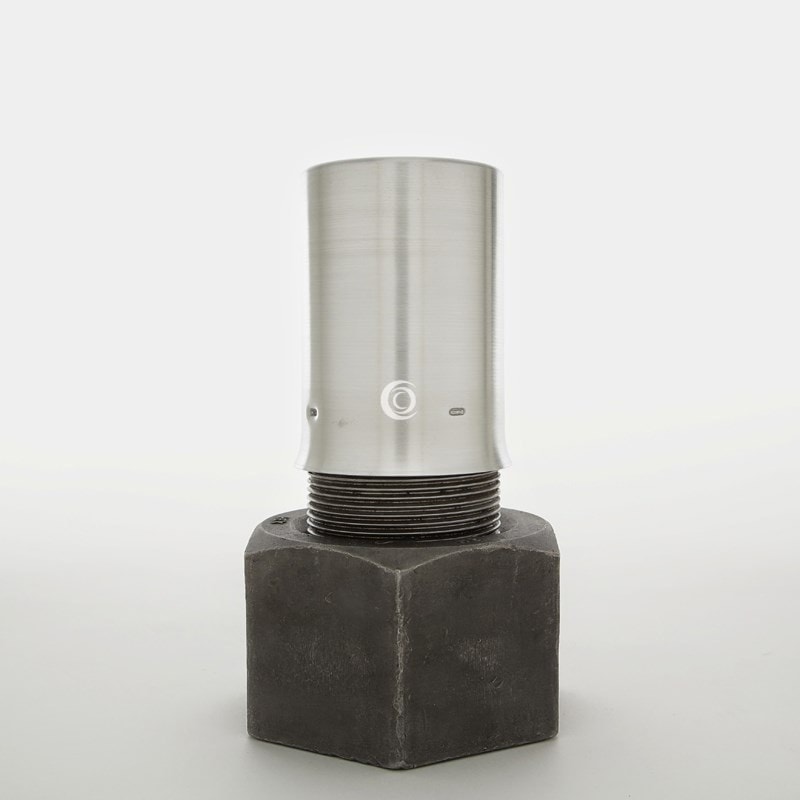
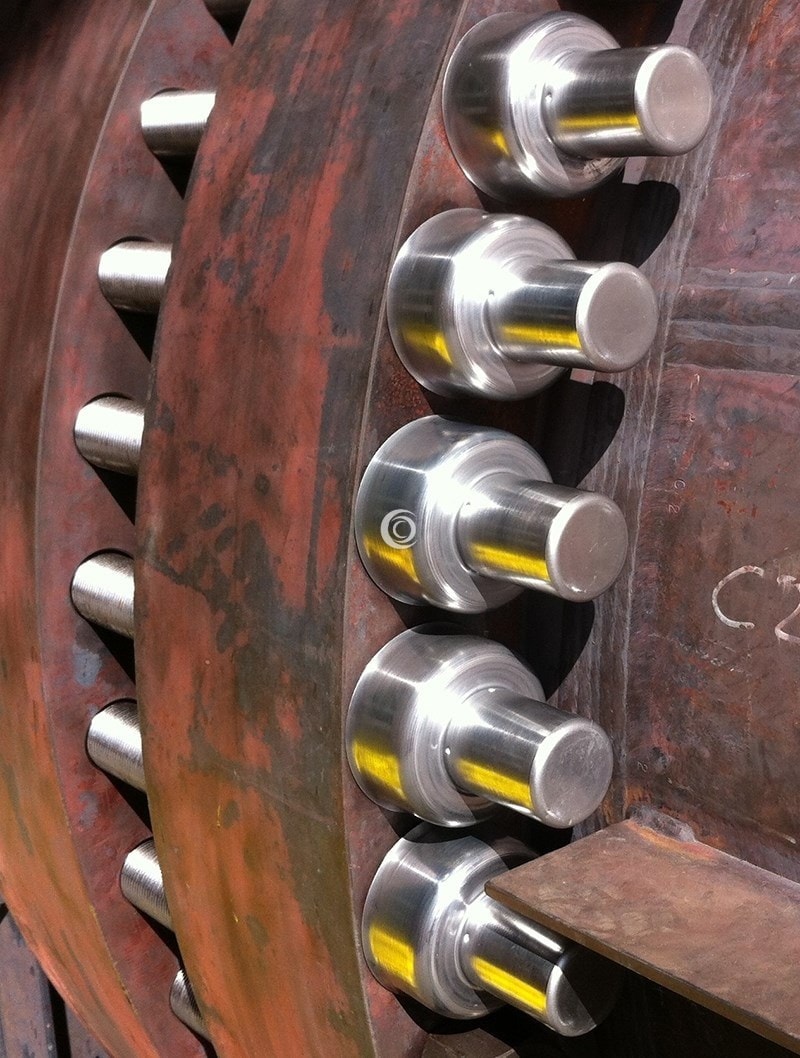
Screw the cap onto the bolt like a cap on a bottle till the bottom lip of the BoltShield® cap touches the flange (in case of TYPE TD caps) or the nut(in case of TYPE TR caps)Tighten with your hands and... That's it!
Watch the Video Demonstration
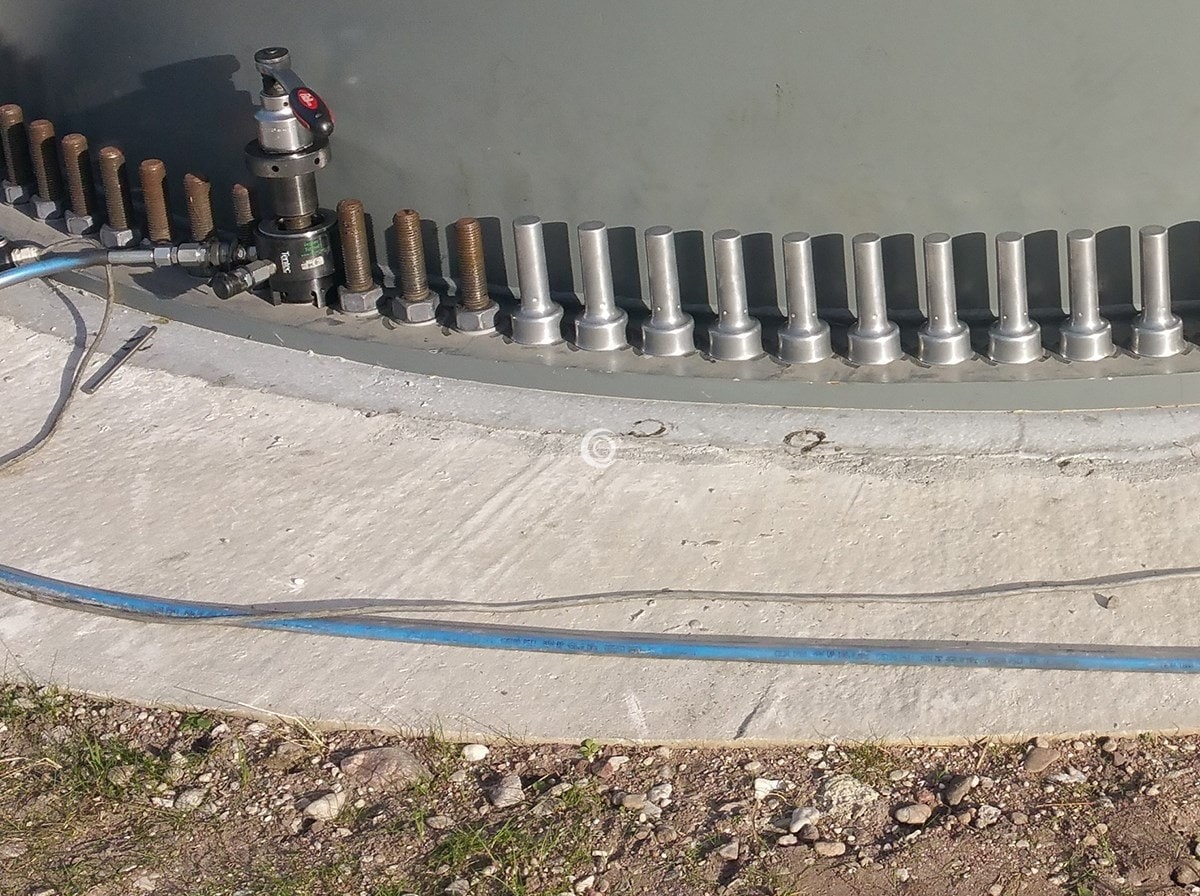
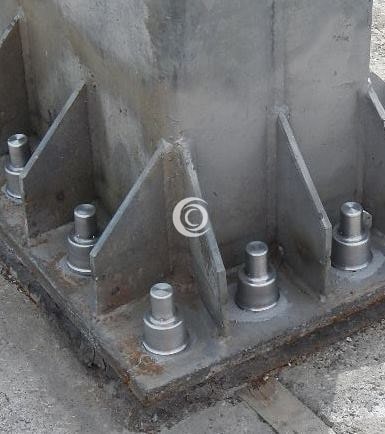
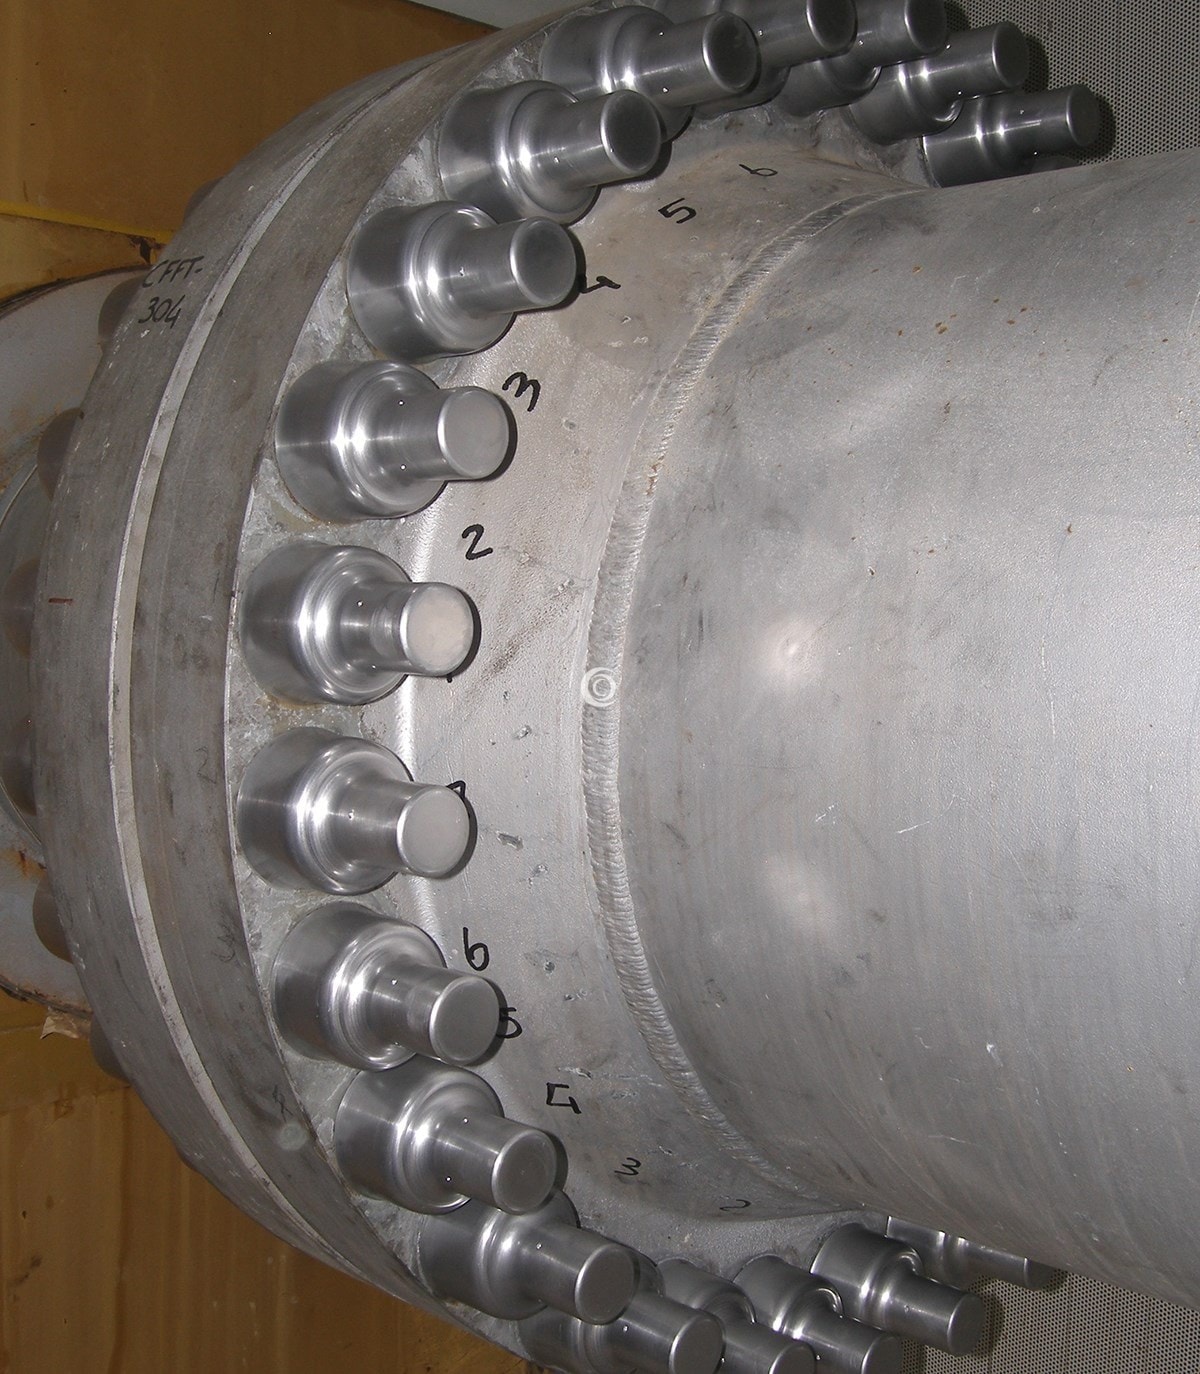
Special Screw-On System for a secure fixing!
Thanks to the Screw-on System, BoltShield® caps will remain fixed and withstand high vibrations.